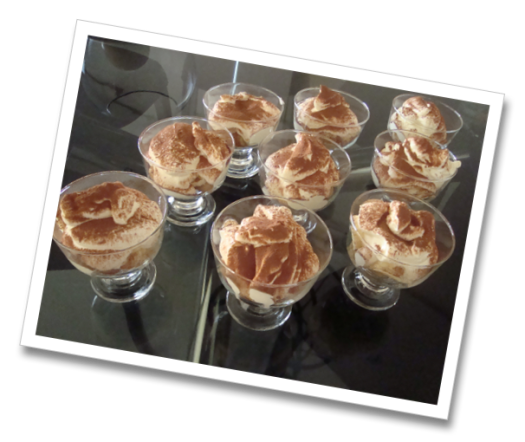
Although red velvet cakes have been popular for so long in the U.S. and Canada, only recently have we started to experience the rage here, everywhere I go I hear people talking about the latest red velvet cupcakes, cakes, and cookies. This is what got me to give it a try. After checking many recipes, I thought I’d combine different tips, and I guess it worked out well. Try it out , I’d love to know the results!
Red Velvet Cake
* 2 1/2 cups (250 grams) sifted cake flour
* 1/2 teaspoon salt
* 2 tablespoons (15 grams) unsweetened cocoa powder
* 1/2 cup (110 grams) unsalted butter, at room temperature
* 1 1/2 cups (300 grams) granulated white sugar
* 2 large eggs
* 1 teaspoon pure vanilla extract
* 1 cup (240 ml) buttermilk (if you don’t have buttermilk prepare 1 TBS vinegar and 1 cup of Milk, will explain below)
* 2 tablespoons liquid red food coloring
* 1 teaspoon white distilled vinegar
* 1 teaspoon baking soda
Directions:
* Preheat oven to 175 degrees C and place rack in center of oven. Butter two (23 cm) round cake pans and line the bottoms of the pans with parchment paper or use cooking spray like I did. Set aside.
* In a mixing bowl sift together the flour, salt, and cocoa powder. Set aside.
* In bowl of your electric mixer, or with a hand mixer, beat the butter until soft (about 1-2 minutes). Add the sugar and beat until light and fluffy (about 2-3 minutes). Add the eggs, one at a time, beating well after each addition. Add the vanilla extract and beat until combined.
* In a measuring cup whisk the buttermilk with the red food coloring. If you don’t have buttermilk combine 1 TBS of white vinegar with 1 cup of milk and let it rest 5-10 minutes, use that mixture to combine with the red food coloring. With the mixer on low speed, alternately add the flour mixture and buttermilk to the butter mixture, in three additions, ending with the flour.
* In a small cup combine the vinegar and baking soda. Allow the mixture to fizz and then quickly fold into the cake batter.
* Working quickly, divide the batter evenly between the two prepared pans and smooth the tops with an offset spatula or the back of a spoon. Bake in the preheated oven for approximately 25 – 30 minutes, or until a toothpick inserted in the center of the cakes comes out clean. Cool the cakes in their pans on a wire rack for 10 minutes. Place a wire rack on top of the cake pan and invert, lifting off the pan. Once the cakes have completely cooled, wrap in plastic and place the cake layers in the refrigerator for at least an hour to make it easier to apply the frosting.
And now for the cream cheese frosting.
Cream Cheese Frosting
* 1/2 cup butter, softened
* 8 ounces (225g) cream cheese
* 3- 4 cups confectioners’ sugar (depending on desired sweetness)
* 2 teaspoons vanilla extract
Beat softened butter and cream cheese until well blended. Add powdered sugar and vanilla. Beat until creamy.
I used light Philadelphia cheese and light butter because this is how I am used to shopping, you can definitely use the regular ones, the frosting might turn out a little bit more in tact if you do. There are also many recipes where you can add white chocolate or Mascarpone cheese to the basic frosting mixture.
Apply a thick layer in the middle between the two cakes, and then drizzle the rest on top.
Bon Appétit !


